I’ve had this post in my draft box for two years. It was going to be a critique and comparison about Do It Yourself crafting, fine art and where the two overlap.
Where’s my Venn diagram?
Instead, let’s talk about making art approachable and accessible to beginners in terms of technique and expense by using the following example.
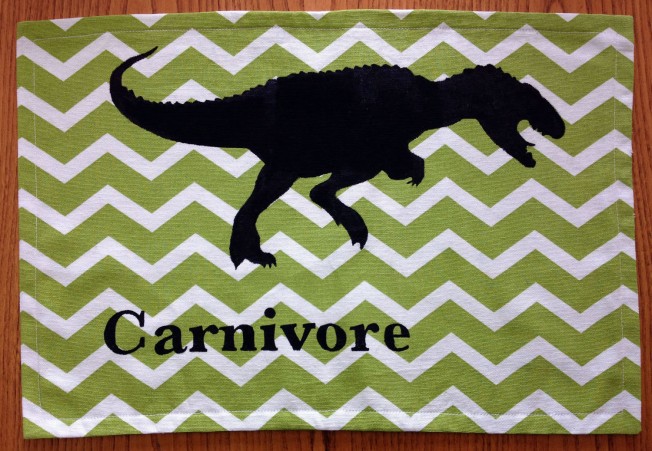
This was a screen printing project; a gift for my bestie’s husband. He is a fan of placemats. And who isn’t a fan of dinosaurs?
There are a number of ways to go about a screen print. A kit at Dick Blick will run a person anywhere from $25.00 to $472.00, depending on how serious you are about it. The basics are going to include a frame/screen, a squeegee, screen filler, drawing fluid, a brush and, hopefully, an instruction manual. Other materials include photo emulsion, photo emulsion remover, sensitizer, lighting, transparencies, tape and solvent. Whew!
So what if we break it down to five items that can get the job done? A screen, a roll of tape, a shower curtain liner, a defunct gift card and ink. It’s a little less intimidating than photo emulsion and if it turns out you hate screen printing, you haven’t invested too much in supplies.
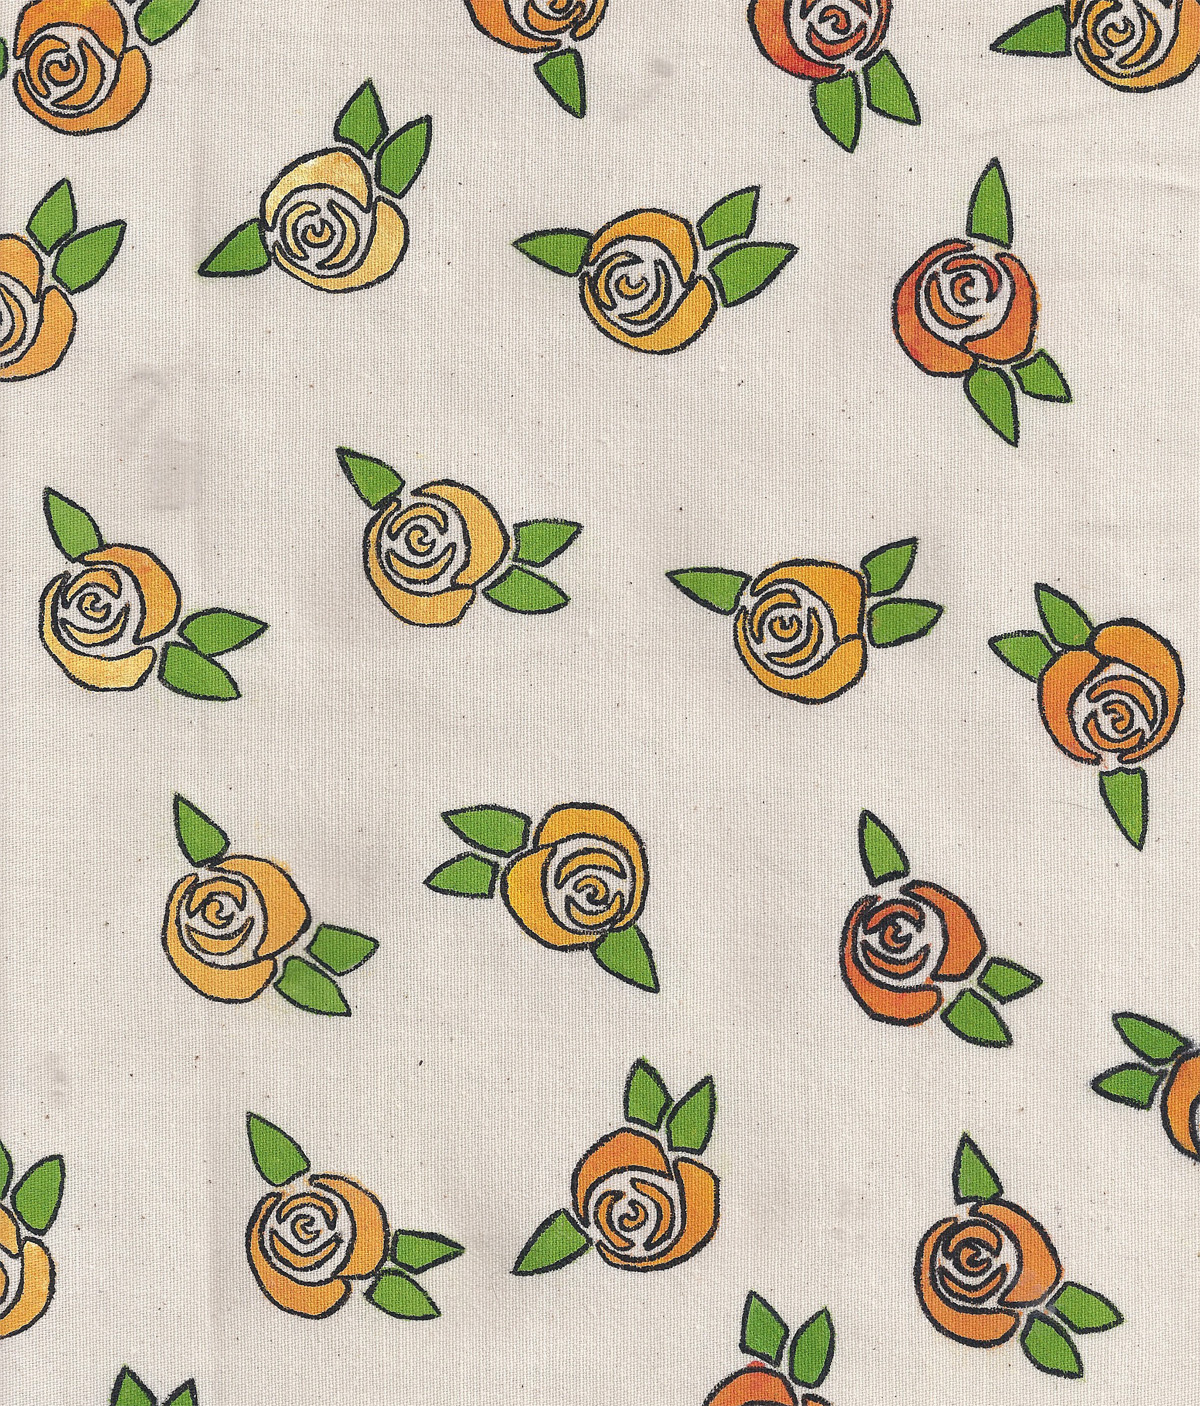
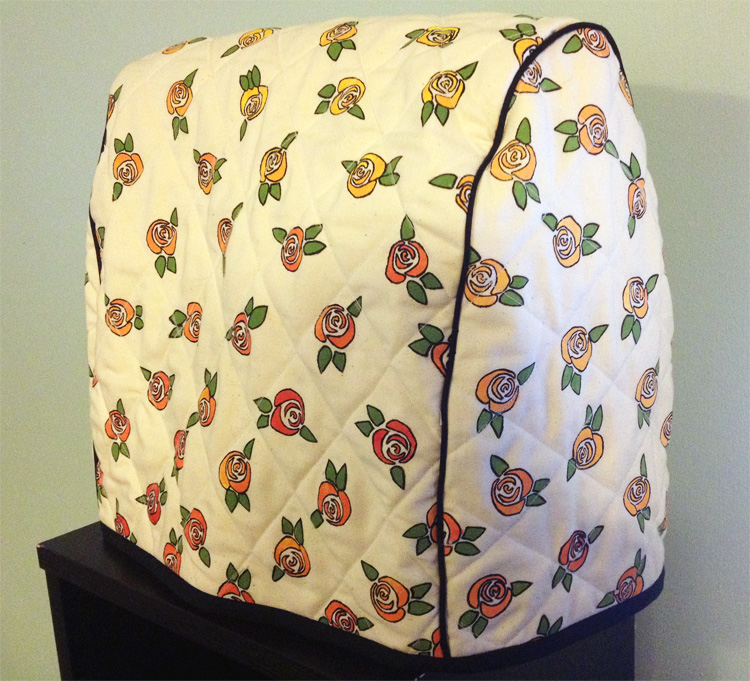
You can use a piece of shower curtain to create a stencil. The plastic is thick enough to withstand multiple printings, easy to cut with a blade and disposable enough that you’re not going to feel too guilty when you mess up. Tape off your screen. This helps with clean up later. I like to tape my stencil to the back of my screen to ensure it will not slide, but usually it will stay put with ink/pressure. Put some ink at the top of your image and use your gift card to pull the ink through the screen.


Stencils can be as simple, or complicated as you want to make them and the printed results are indistinguishable from a more professional setup.


You might have noticed this post is not a step by step process. There are a lot of tutorials already out there. Check out this one by Catspit Productions:
https://www.youtube.com/watch?v=ND1AUJhdUZc
And while there are other parts of the screen printing process like prepping your screen and registering your image, it doesn’t have to be complicated. Throw that stencil on your screen and have at it. Making art does not have to be cost prohibitive and creating beautiful/crafty/functional prints is within your power.